How to Conduct a Thorough Utility Locating Survey

Before any excavation or construction project, it is crucial to conduct a thorough utility locating survey to ensure the safety of workers, prevent damage to existing infrastructure, and avoid costly delays. A utility locating survey involves identifying and mapping the underground utilities such as water pipes, gas lines, electric cables, and telecommunication networks. In this blog post, we will guide you through the key steps to conduct a comprehensive utility locating survey.
Step 1: Gather Existing Information:

Start by collecting all available information about the site's utility infrastructure. Contact utility companies, local authorities, and property owners obtain as-built drawings, utility maps, and any other relevant documentation. These resources can provide valuable insights into the location and depth of existing utilities, saving time and effort during the survey process.
Step 2: Use Ground Penetrating Radar (GPR):

Ground Penetrating Radar (GPR) is an essential tool for utility locating surveys. GPR uses electromagnetic waves to create subsurface images, allowing you to detect and map the underground utilities. It can identify differences in material composition and locate metallic and non-metallic structures. When using GPR, walk the survey area systematically, covering the entire site in a grid pattern to ensure comprehensive coverage.
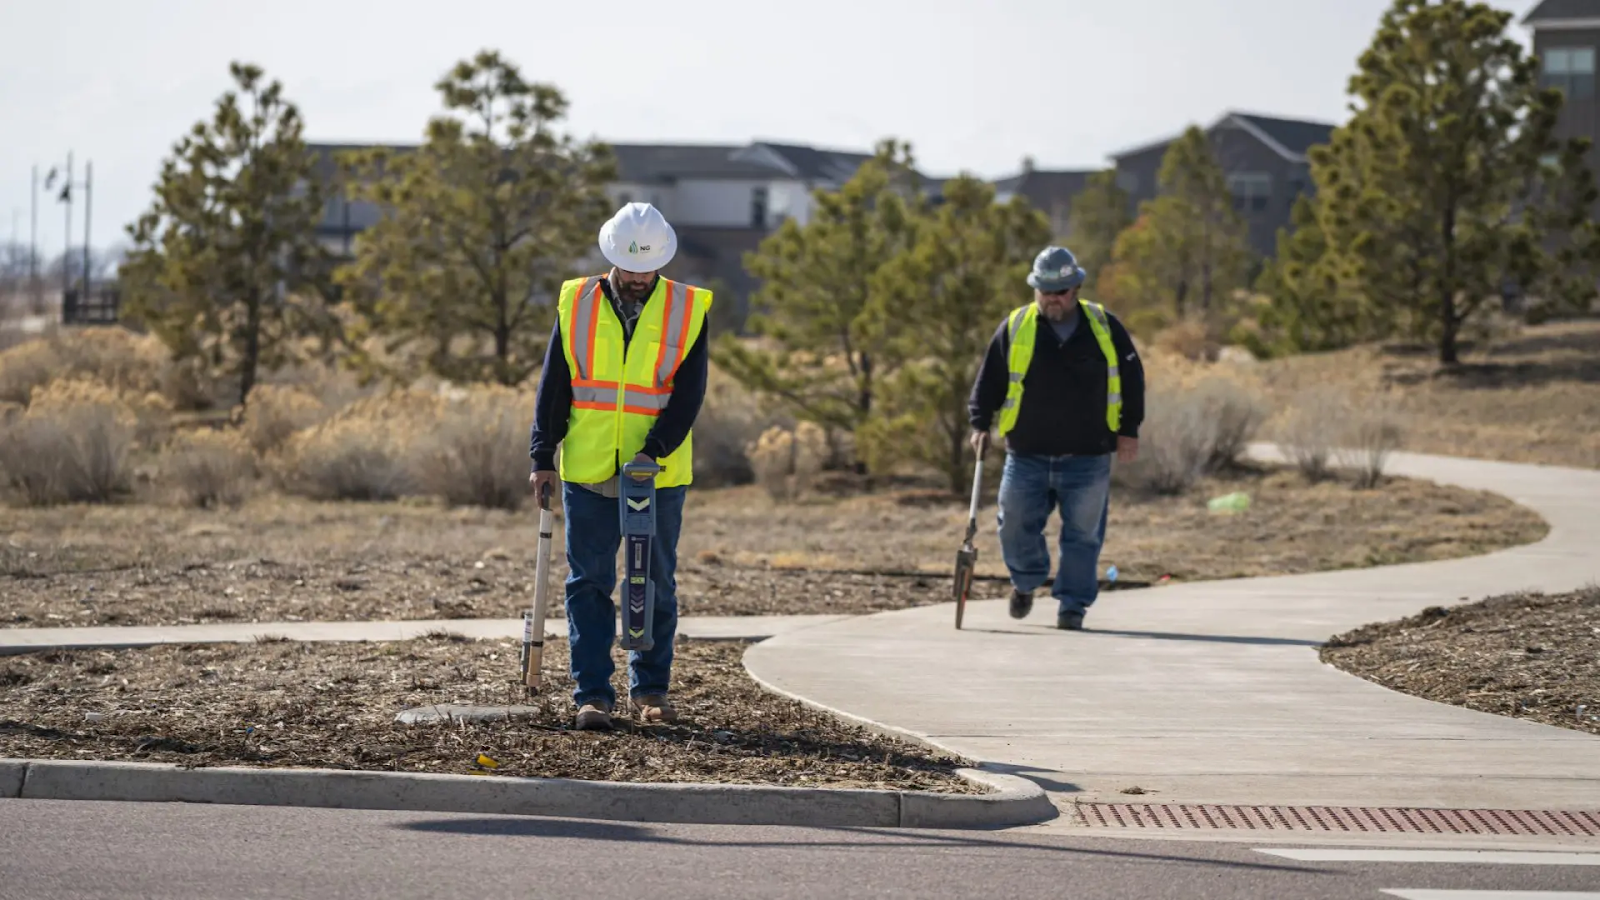
Step 3: Conduct Electromagnetic Induction (EMI) Surveys:
In addition to GPR, electromagnetic induction (EMI) surveys are useful for locating buried utilities. EMI uses electromagnetic fields to detect the presence of conductive materials such as metallic pipes and cables. EMI equipment consists of a transmitter and a receiver, and by sweeping the area, you can identify any anomalies indicating the presence of buried utilities.
Step 4: Utilize Utility Marking Tools:
During the survey, use utility marking tools to physically mark the detected utilities on the ground. These tools may include spray paint, flags, or stakes, and they help provide a visual reference for the location and path of underground utilities. Ensure that the marking is done accurately, clearly indicating the type of utility and any cautionary information.
Step 5: Verify and Confirm Utility Locations:
Once the initial survey is complete, it is essential to verify and confirm the utility locations. This can be done through non-destructive digging techniques, such as hydro excavation or vacuum excavation, which use pressurized water or air to safely expose the underground utilities. By visually inspecting the exposed utilities, you can confirm their location, depth, and condition.
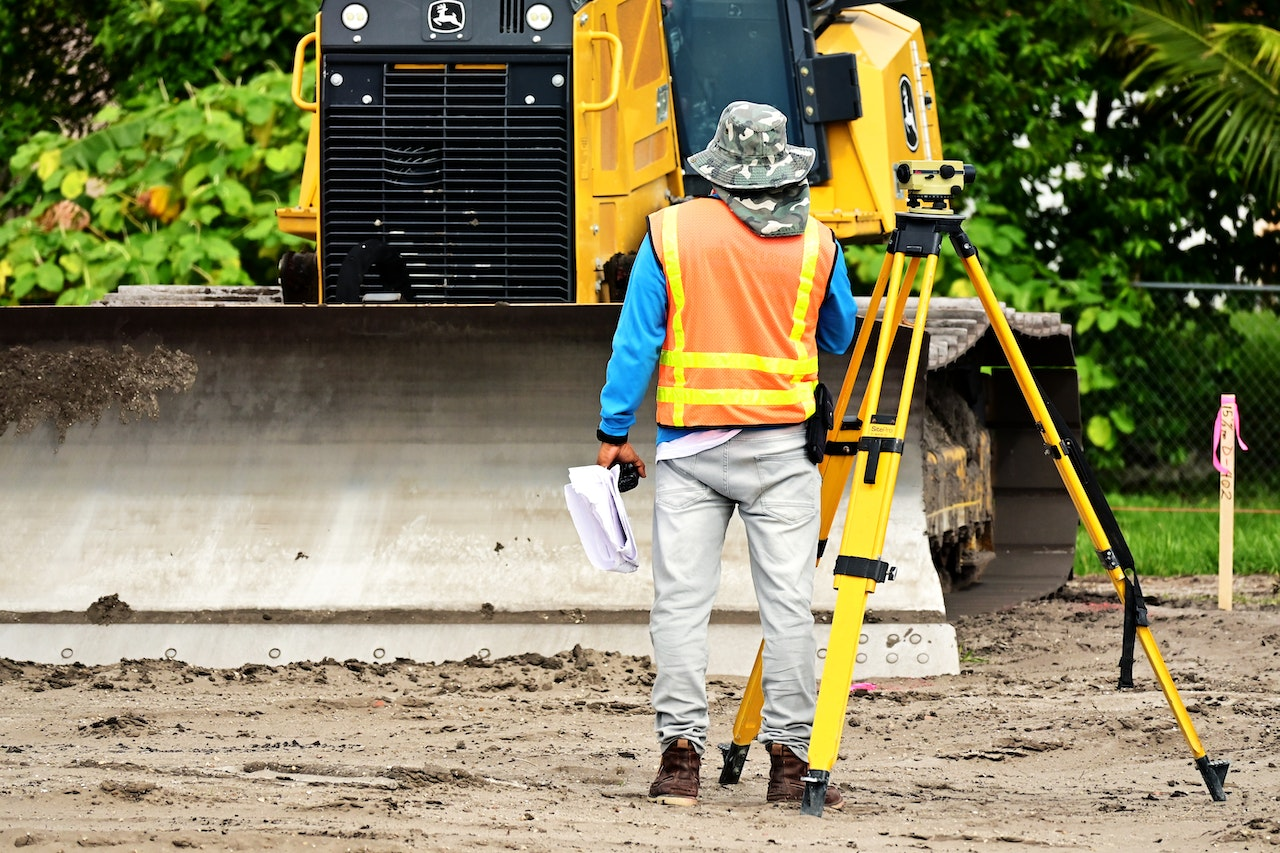
Step 6: Document and Report:
Have a document all the findings and observations all throughout the utility locating survey. Prepare a comprehensive report that includes detailed maps, photographs, and descriptions of the identified utilities. Highlight any potential conflicts or areas of concern that may require special attention during construction or excavation. This report will serve as a valuable reference for all stakeholders involved in the project.
Conclusion
Conducting a thorough utility locating survey is a critical step in any construction or excavation project. By following the steps outlined in this blog, you can ensure the safety of workers, prevent damage to existing infrastructure, and avoid costly delays. Remember to gather existing information, use tools like GPR and EMI, mark utilities accurately, verify locations, and document all findings. By investing time and effort into a comprehensive utility locating survey, you will set a solid foundation for a successful and smooth project execution.
Other recommended posts
Digging with Confidence: Tips for Accurate Utility Locating
Comments
Post a Comment